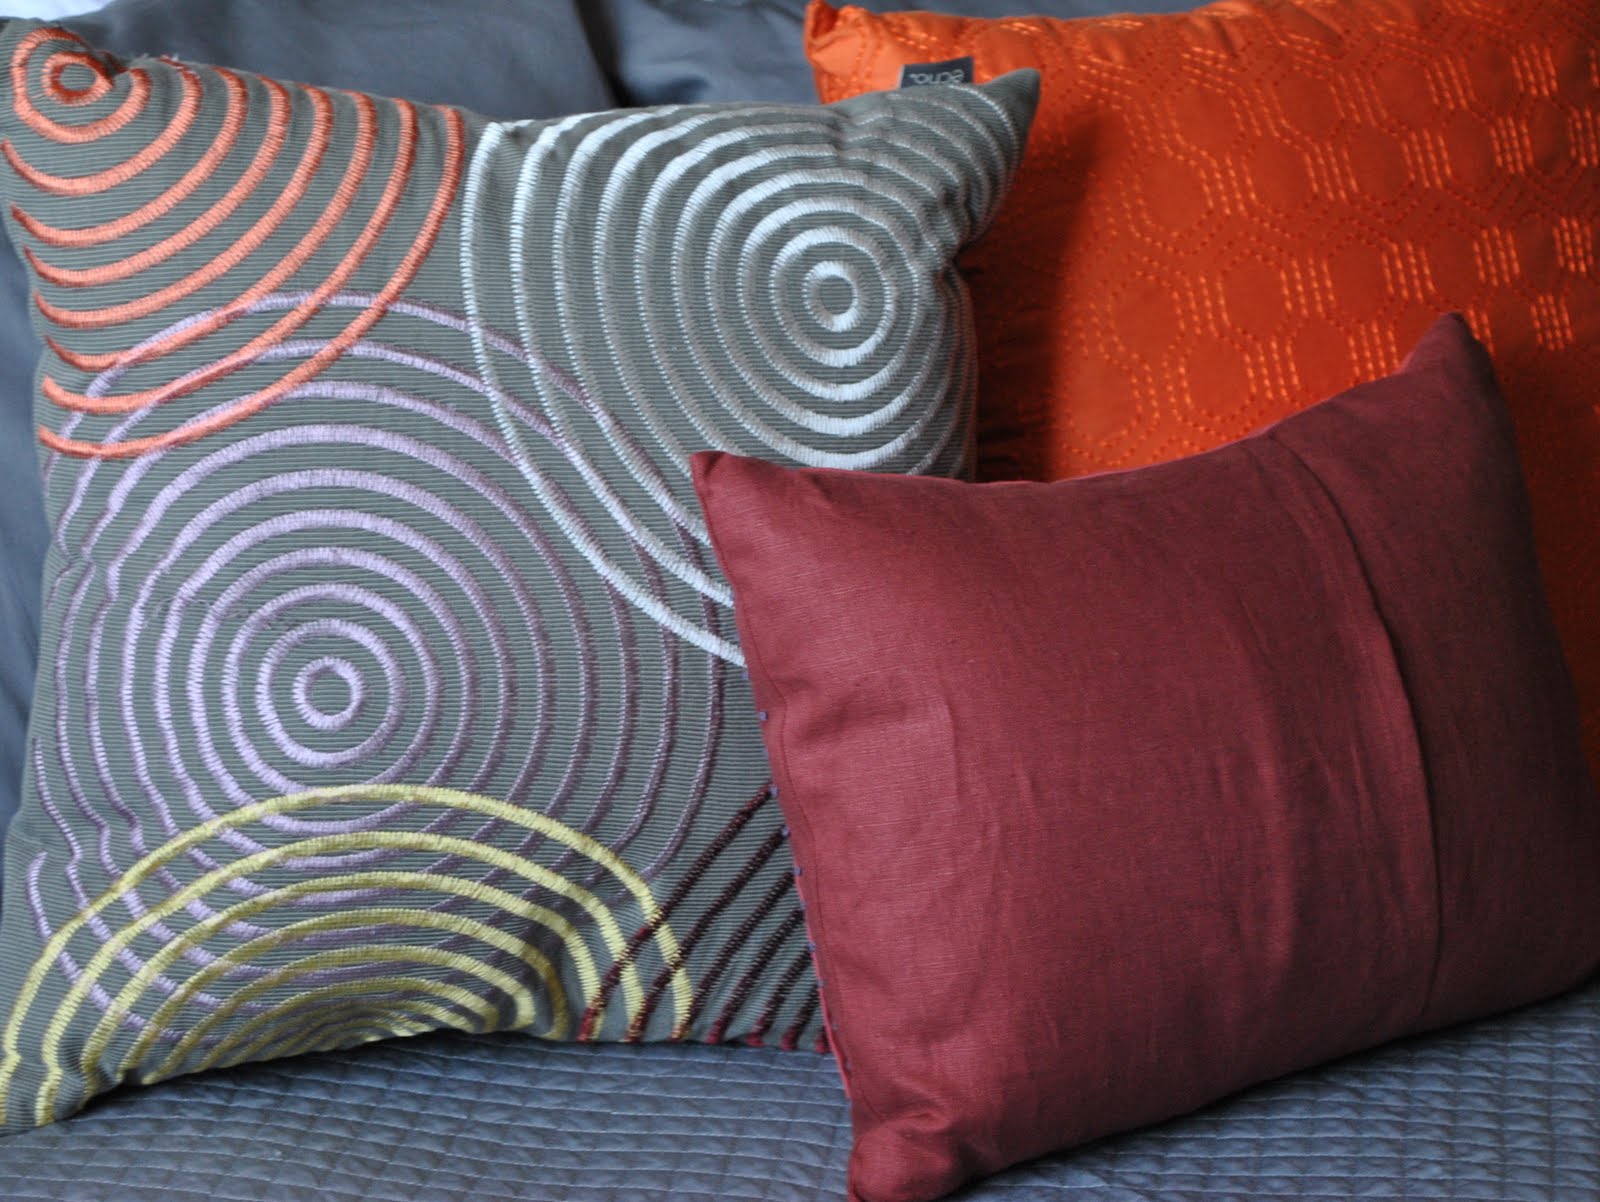
Orange Room

In the spring, Carolee (my sister) and I teamed up and took on our first "official" design job.  We chose everything from paint colors, to furniture, to accessories for an entire home.  It was soooo much fun!  We loved it!

We always called this room the "orange room" because of the night table (...we fell in love with it as soon as we set eyes on it!)  The colors in this bedroom are perfect for a lovely fall day like today!


photos by Carolee

Which would you choose? Stair spindles: black vs. white

I did more de-oaking this weekend.  (I'm working on updating my 1980's house.)  Primed the trim in three bedrooms... everything is looking bigger and brighter!  I'm at the point where I need to decide on a paint color.  I know that the trim and the paneling will be white, and the stair banister will be black.  Here's my dilemma... should the stair spindles be white or black?  I think the white is more classic, but the black is less expected.  Thoughts, anyone???


photo from House & Home

photo from House & Home

photo from Elle Decor

Quick fix for my pile of purses

I like to keep several purses handy, so that I can grab the perfect one on my way out the door.  However, they were becoming a bit of a problem in the mudroom.  They were ending up in a big pile, which I would dig through every time I was ready to leave the house.  Visual clutter gets super annoying after a while.  (Even for me... and I can live with it for quite a while.)

I found a quick and easy solution... I put up several simple coat hooks right beside the back door:


Now my purses are easily accessible, and it`s kind of a cute collection!

In case you were wondering... here is what the situation was like before... ugh.

I heart Design Refuge!

My friend Sacha phoned the other night and asked if I was watching tv.  I explained that no, I was trying to catch up on my favorite design blogs.  She wondered how many I kept up with.  Well... let's just say LOTS.  Every day I get hooked on a new one.  One blog often leads to another, and there are just so many fabulously creative people out there.  I could spend hours...

That's why I was super thrilled to find Design Refuge.  It is the ultimate gathering place for design bloggers!  At Design Refuge you will find all of the best design bloggers in one spot... including columns by favorite design bloggers, showcases of recent projects, and features on great new blogs.  The blog roll is already amazing, and the site is brand new!


The site was created by Dagny of Scandinavian Chic:


Dagny's vision for Design Refuge is "...to unite interior design bloggers from all over the world.  We want to empower you and to create a positive community filled with inspiration, networking and a platform to share your projects and experiences!"

How awesome is that?  Design Refuge will definitely be the first stop on my daily tour of design blogs!


ps... guess who's chevron rug diy is featured at DR today!  Yay!!!

Nate Berkus Show

OK... what's going on?  I've been seeing great posts about Nate Berkus, like at Little Green Notebook,  and realized that I haven't been watching his new show!  Crap!  I missed the whole premiere week!  So I went straight to my pvr to set it up to record the show... guess what?   Couldn't even find the show.  That seemed wierd... so I looked harder and finally found the show airing at 1am!  OUTRAGE!  So I set it up to record, and I'll be able to watch tomorrow.

Anyways, Nate's Chicago apartment was featured in Elle Decor last year.  Look at these fabulous rooms:

both photos from Elle Decor


Also... my favorite item from Nate's HSN line:


DIY Details: hand painted chevron rug

If you read my post yesterday, you saw my awesome upcycled area rug!  It was so easy, and so worth the time to reinvent it!  I hated that rug a week ago, and now I love it!


Even though the rug was hideously bland, it did have a couple of things going for it:  it was big (8' x 10') and it had a really flat loop (like a fake sisal rug).  The flat loop made it possible to use paint instead of dye for the stripes.

Here's what I did:

1.  Measure.  I knew that I wanted three zig zags stretching across the rug, so I measured out the spacing of the peaks, and drew three chalk lines across the rug to make sure the peaks were perfectly spaced.

2.  Tape out the first peaks.  To get the first peak, I used my 450 triangle (from my drafting kit - leftover from engineer days! haha!)  If you don't have the triangle, just measure it out.  For tape, I used 2 strips of the 2" green painters tape, and overlapped it just a little bit.


3.  Continue taping.  To keep the spacing perfect without measuring every single time, I made myself a little "jig" by overlapping two short pieces of tape.  I used the jig to make sure that the spaces were the same width as the stripes.


4.  Still taping... Taping takes forever, but it's kind of fun seeing the pattern emerge.


5.  Meanwhile... this is what Beckett was doing while I was taping forever!


6.  Paint.  Finally it is time to paint!  I used Benjamin Moore latex floor paint in black.  It took most of a gallon.  I did one coat, let it dry overnight, and then did the second coat the next day.
*** update for people who have been wondering - I used small roller (about 3'' wide) ***


7.  Remove tape.  Voila, you are done!  I let it dry for a full day before we started walking on it.


Upcycling: My hand painted chevron rug

I'm so excited!  I finished another project and it turned out shockingly awesome!  I had a nasty old area rug that was a relic from my beige phase.  It was literally scheduled for a trip to the dump as soon as possible, but then I saw this post over at Leaf House.  So I decided that my old beige rug was a perfect candidate for an upcycling1 project.

Here's the look I was going for (this fabulous room is by Tamara Styles of Get it Girl Style):

Here's how mine turned out:


Not bad for a few hours of work!  Now I need to get busy accessorizing this room!

I'll post the DIY Details tomorrow.

1.  My Definition:  Upcycling is taking something that is old/ugly/junky/disposable and transforming it into something of greater beauty and value.